bose amp wiring diagram manual

This manual provides comprehensive guidance on Bose amplifier wiring, including detailed diagrams, pinouts, and troubleshooting steps for various models, ensuring proper installation and optimal performance.
Overview of the Manual
This manual serves as a comprehensive guide for understanding and working with Bose amplifier wiring systems. It includes detailed wiring diagrams, pinouts, and troubleshooting steps, catering to both professionals and DIY enthusiasts. The manual covers various Bose models, addressing installation, connectivity, and common issues, ensuring safe and efficient setup. It also provides resources for further assistance and maintenance.
Importance of Proper Wiring
Proper wiring is essential for ensuring your Bose amplifier functions correctly and safely. Incorrect connections can lead to system malfunctions, damaged components, or even safety hazards. Correct wiring ensures optimal audio performance, prevents interference, and safeguards against overheating or short circuits. Adhering to the manual’s guidelines guarantees reliable operation and maintains the longevity of your Bose amplifier system.
Components of the Bose Amp Wiring Diagram
The diagram includes power terminals, speaker outputs, input connectors, and wiring harnesses. It details connections for amplifiers, subwoofers, and speakers, ensuring proper signal flow and system integration.
Understanding the Diagram Symbols
The Bose amp wiring diagram uses specific symbols to represent components like speakers, amplifiers, and connectors. These symbols are standardized, with lines indicating wiring paths and colors denoting different functions. A legend section typically defines each symbol, ensuring clarity. Common symbols include speaker outputs, power terminals, and input connectors. Understanding these elements is crucial for interpreting the diagram accurately and ensuring proper connections during installation.
Key Components and Their Functions

The Bose amp wiring diagram highlights essential components like power terminals, speaker outputs, and RCA connectors. Power terminals connect the amplifier to the vehicle’s electrical system, while speaker outputs deliver audio signals to speakers. RCA connectors handle input signals from head units or processors. Transformers and direct mode configurations enable compatibility with various setups, ensuring proper signal flow and amplification for optimal sound quality.
Troubleshooting Common Issues
Identify loose connections, corroded wires, or damaged components. Check for improper wiring configurations and ensure all terminals are securely connected to avoid power and audio output issues.
Identifying Faulty Connections
Examine all wiring and connectors for signs of damage, corrosion, or wear. Use the Bose wiring diagram to verify connections, ensuring each wire is securely attached to the correct terminal. Check for loose screws, frayed cables, or misaligned pins, as these can disrupt signal flow and cause system malfunctions or intermittent audio issues.
Resolving Power and Audio Output Problems
Check the power supply connections to ensure they meet the amplifier’s requirements. Verify speaker impedance matches the amp’s specifications; Consult the wiring diagram to confirm all audio inputs and outputs are correctly routed. Test each channel to isolate issues, and replace any faulty components or wiring identified during the troubleshooting process to restore optimal performance and sound quality.

Installation Guidelines
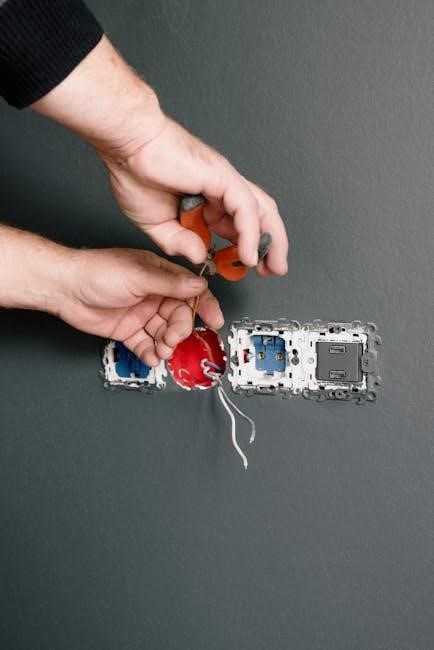
Follow the manual’s step-by-step wiring guide to ensure correct connections and proper setup. Verify all components and connections before powering on to ensure optimal functionality and safety.
Step-by-Step Wiring Process
Begin by identifying the amplifier’s input and output terminals using the provided diagram. Connect the RCA cables from the source to the amp’s inputs. Next, link the speaker wires to the output terminals, ensuring correct polarity. Secure all connections firmly. Finally, power on the system and test each channel to confirm proper functionality and sound output, following the manual’s instructions carefully to avoid any issues.
Post-Installation Testing and Validation
After completing the wiring, turn on the system and test each channel to ensure proper audio output. Check for any distortion or unusual noise. Verify that all connections are secure and match the diagram. Test volume levels and functionality across all zones or speakers. If issues arise, refer to the troubleshooting section to identify and resolve problems, ensuring optimal performance and sound quality from your Bose amplifier setup.
Safety Precautions and Best Practices
Always disconnect power before starting work. Use correct tools and follow diagrams to avoid electrical hazards. Ensure proper grounding and handle components with care to prevent damage.
Electrical Safety Measures
Disconnect power before starting work to prevent electrical shocks. Use insulated tools and ensure proper grounding. Avoid overloaded circuits and keep wires away from heat sources. Never touch live wires or components. Follow the manual’s guidelines for safe installations. Use surge protectors to safeguard against voltage spikes. Ensure all connections are secure and free from corrosion. Handle components with care to prevent damage and ensure longevity.
Environment and Handling Considerations
Install amplifiers in well-ventilated areas to prevent overheating. Avoid exposing components to moisture, extreme temperatures, or direct sunlight. Use protective gear when handling sensitive electronics; Keep wiring organized to prevent damage and signal interference. Ensure all components are securely mounted to avoid vibrations. Regularly clean and inspect connections to maintain optimal performance and longevity of the system.

Bose-Specific Pinouts and Connectors
Bose amplifiers use unique pinouts and connectors to ensure compatibility and optimal performance. Refer to the manual for specific configurations, such as the PackLite Model A1, to avoid installation issues.
Pin Configuration for Different Models
Bose amplifiers feature model-specific pin configurations to ensure compatibility and optimal performance. The PackLite Model A1, for example, has distinct pinouts for power, audio inputs, and speaker outputs. Incorrect wiring can lead to signal loss or damage. Always refer to the official manual or service guide for precise pin assignments tailored to your specific Bose amplifier model to avoid installation errors and ensure proper functionality.
Adapter and Connector Compatibility
Using the correct adapters and connectors is crucial for maintaining signal integrity and preventing damage to your Bose amplifier. Ensure compatibility by referencing the official Bose wiring diagrams, which outline specific adapter requirements for various models. Incorrect connectors can lead to signal loss or distortion, so always use genuine Bose-approved adapters to guarantee optimal performance and longevity of your system.
Model-Specific Wiring Diagrams
Model-specific wiring diagrams ensure accurate installation and optimal performance for Bose amplifiers. Each model has unique wiring requirements, making these diagrams essential for proper setup and functionality.
Identifying the Correct Diagram for Your Model
Identifying the correct wiring diagram for your Bose amplifier ensures proper installation and functionality. Refer to the manual or manufacturer’s website for model-specific diagrams. Cross-check the amplifier’s model number with the diagram’s specifications to avoid errors. This step is crucial for maintaining sound quality and preventing potential damage to the system. Always verify compatibility before proceeding with any wiring task.
Comparative Analysis of Different Models
A comparative analysis of Bose amplifier models reveals variations in wiring diagrams, pin configurations, and compatibility with speakers or subwoofers. For instance, the Bose Music Amplifier and Lifestyle SA-2/SA-3 models differ in their connector types and impedance loads. Understanding these differences ensures proper installation and optimal performance, as each model is designed for specific audio setups and environments. This analysis aids in selecting the right diagram for your amplifier.
Advanced Wiring Configurations
Exploring advanced setups for Bose amps, including multi-zone configurations, multi-speaker systems, and subwoofer integration, to create a tailored audio experience with enhanced performance and customization.
Multi-Zone and Multi-Speaker Setups
Learn to configure multi-zone systems for seamless audio distribution across multiple areas. Understand how to wire and integrate multiple speakers while maintaining optimal impedance levels. The manual provides detailed diagrams for multi-speaker setups, ensuring balanced audio performance and proper power distribution. These configurations enable customized sound experiences, catering to diverse listening environments and preferences. Use the guide to avoid common pitfalls and achieve professional-grade installations.
Integrating Subwoofers and Additional Components
Discover how to seamlessly integrate subwoofers and extra components into your Bose amp setup. The manual offers wiring strategies to enhance bass output and system performance; Detailed diagrams guide connections for subwoofers, ensuring proper impedance matching and phase alignment. Learn to optimize crossover settings and amplifier configurations for a balanced, immersive audio experience. This section helps achieve a harmonious blend of high-fidelity sound and deep bass response.
Repair and Maintenance Tips
Regular maintenance ensures optimal performance. Check for loose connections, corroded wires, and damaged components. Refer to official manuals for diagnostics and replacement guidelines to prevent system issues.
Diagnostics and Fault Identification
Diagnostics involve identifying faulty connections, corroded wires, or damaged components using wiring diagrams. Visual inspections and testing tools help pinpoint issues. Refer to official Bose service manuals for detailed troubleshooting guides. Addressing problems early prevents system malfunctions and ensures reliable performance. Regular checks and maintenance are crucial for long-term functionality and optimal sound quality.
Maintenance Practices for Longevity
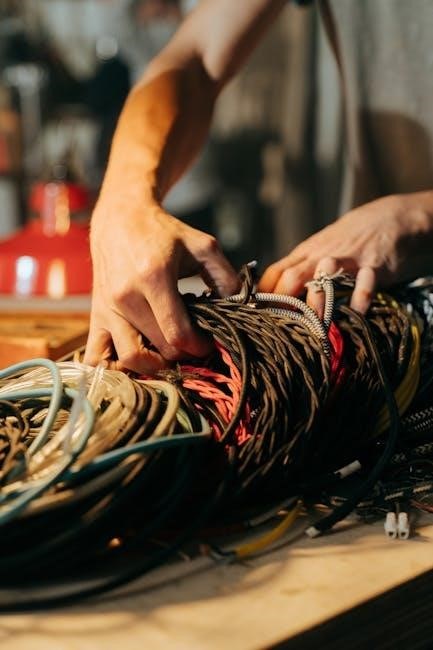
Regular inspections of wiring and connections are essential to prevent corrosion and wear. Clean terminals and ensure secure connections. Store components in a dry, cool environment to avoid moisture damage. Refer to Bose manuals for firmware updates and component care. Use genuine Bose accessories for compatibility. These practices ensure system longevity and optimal performance, reducing the risk of premature failure.
Resources and References
Refer to official Bose manuals, service guides, and online forums for detailed wiring diagrams, pinouts, and troubleshooting tips specific to your amplifier model for accurate installations.
Official Bose Documentation and Manuals
Official Bose documentation provides detailed wiring diagrams, pinouts, and troubleshooting guides for various amplifier models. These manuals, available as PDFs, cover installation steps, safety precautions, and maintenance tips. They ensure accurate setups and repairs, offering comprehensive resources for professionals and DIY enthusiasts. Access these through Bose’s official website or authorized service centers for reliable guidance on amplifier installations and functionality.
Recommended Tools and Accessories
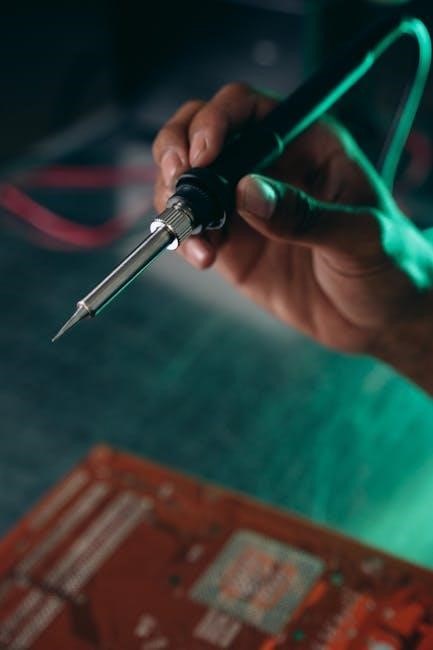
For accurate Bose amplifier wiring, essential tools include multimeters, wire strippers, crimpers, and soldering irons. High-quality RCA cables, speaker wires, and connectors are crucial for reliable connections. Additionally, protective gear like gloves and safety glasses ensures safe working conditions. Referencing official Bose PDF manuals and diagrams guarantees precise installations, while specialized adapters and harnesses simplify complex setups for optimal performance and longevity.
Leave a Reply
You must be logged in to post a comment.